
Shape of Dreams Bosses & Starless Path Strategy
Comprehensive boss guide for Shape of Dreams v1.4. Defeat all dimensional wardens, master heroic attack patterns, and clear the Starless Path ending.
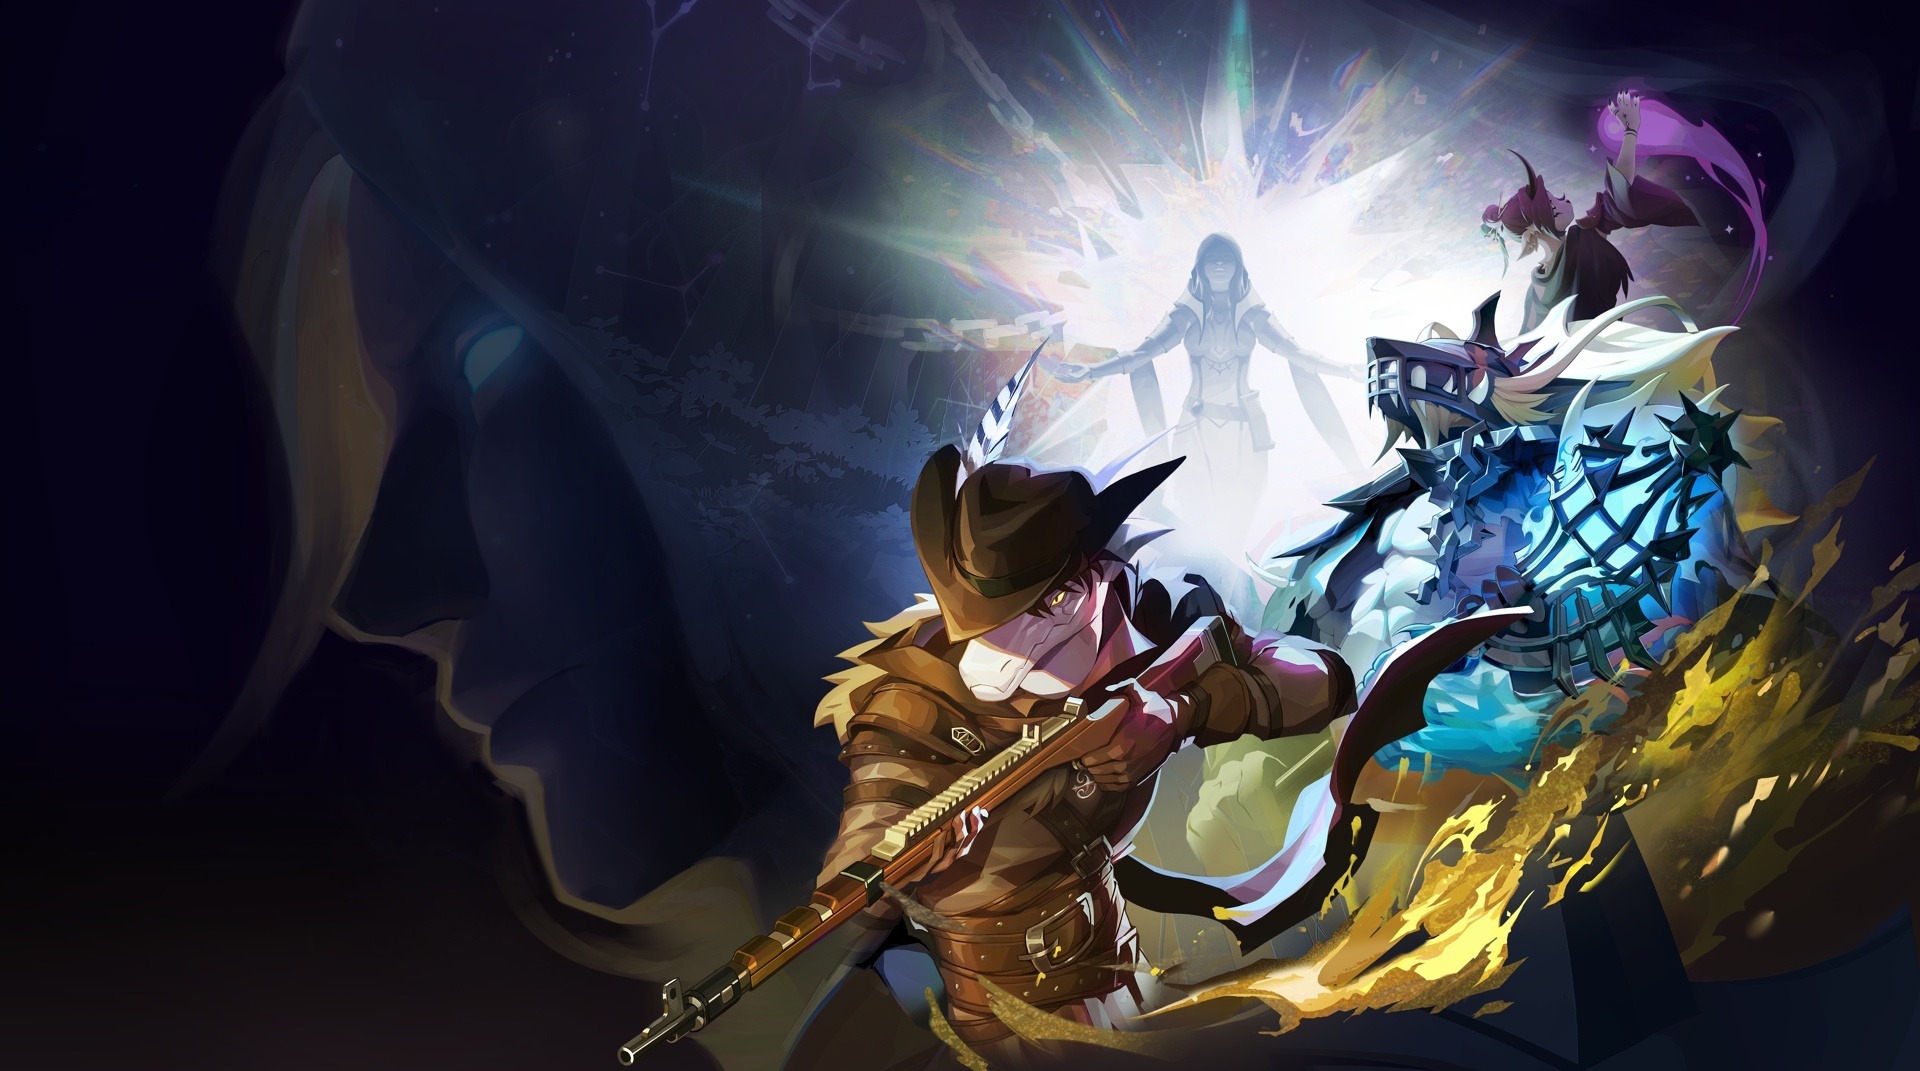
Defeating Shape of Dreams bosses requires tracking telegraph indicators, exploiting downtime between attack combos, and maintaining high burst damage to skip enrage phases.
Confronting the dimensional wardens in Shape of Dreams demands precision, positioning, and an understanding of enemy telegraph cues. The v1.4 update enhances existing bosses with Heroic difficulty variants while introducing the Starless Sovereign as the ultimate alternate endgame challenge. This breakdown prepares players to overcome every major boss encounter cleanly.
Boss Overview & Difficulty Matrix
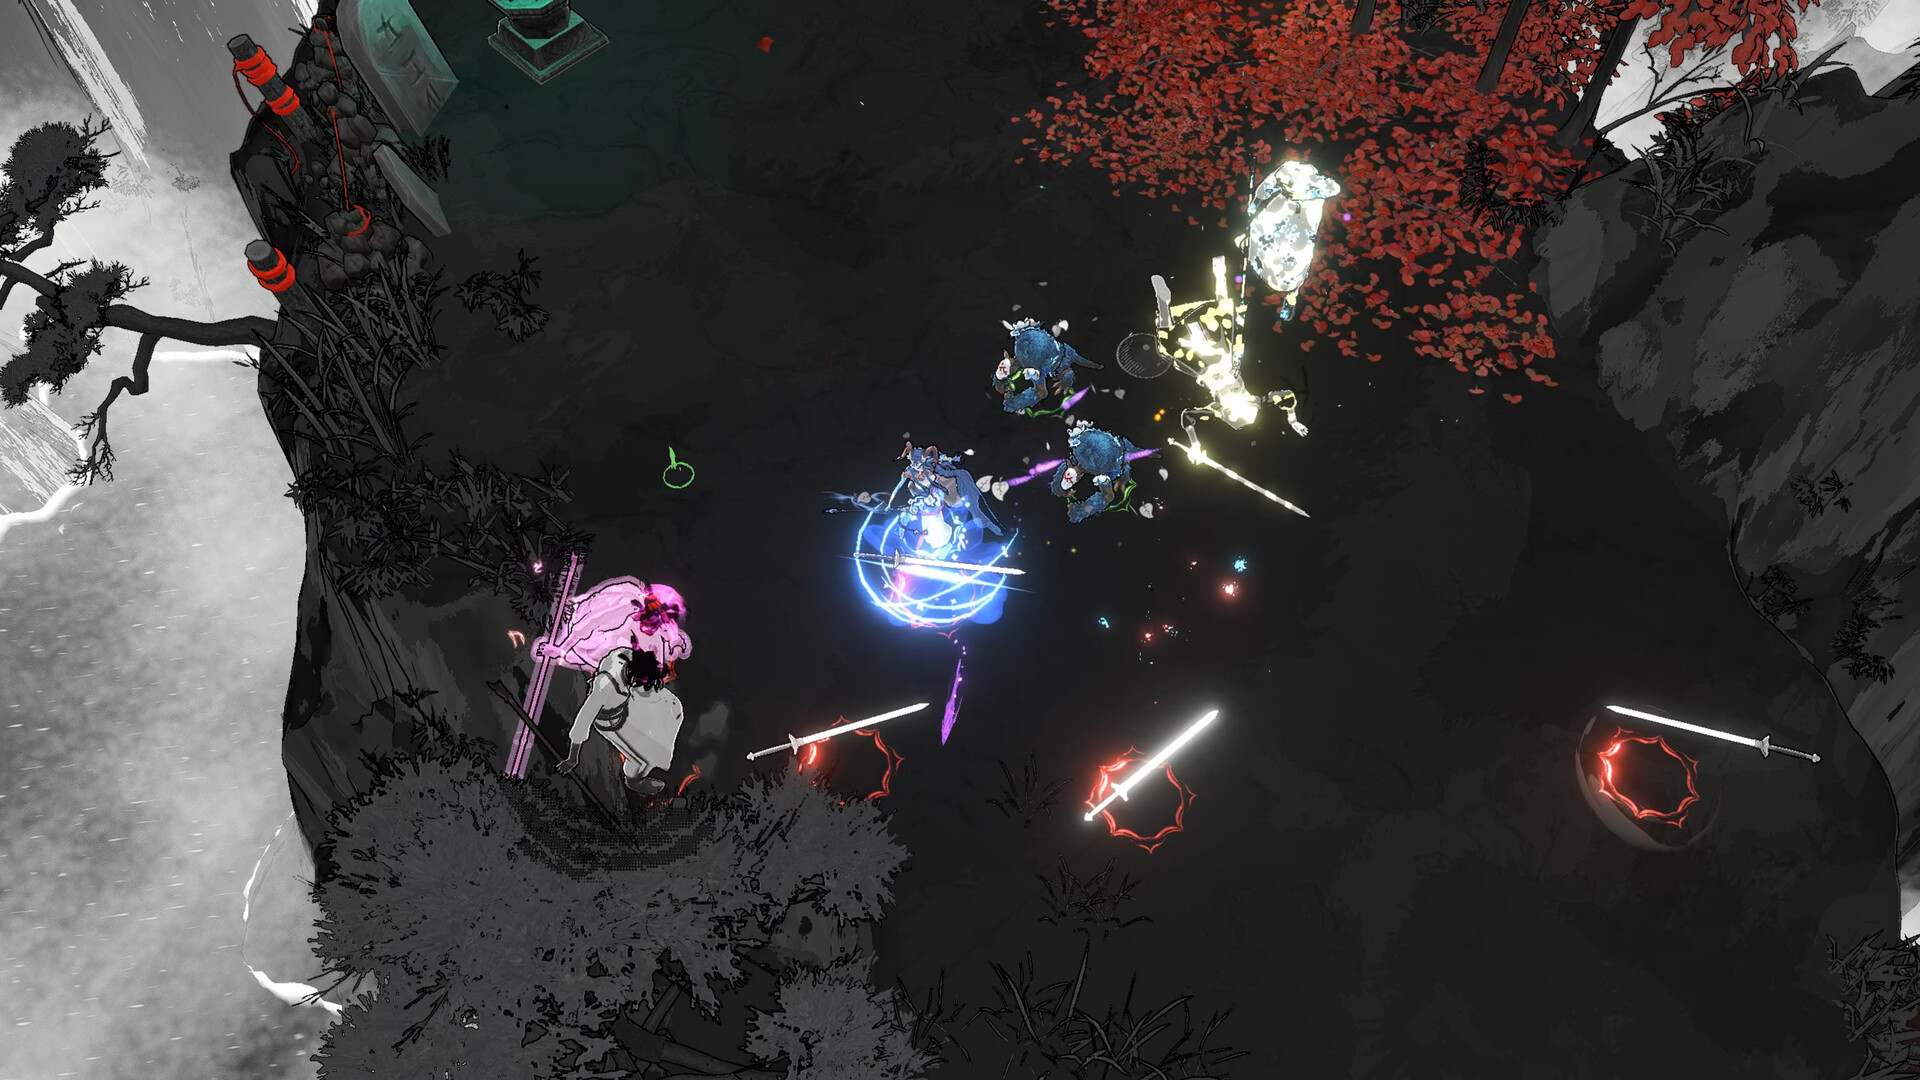
The table below outlines the primary bosses encountered across standard dimensions and the new Starless Path route.
| Boss Name | Dimension | Primary Threat | Key Vulnerability | Recommended Traveler |
|---|---|---|---|---|
| Dream Warden | Dimension 1 | Melee Cleaves & Ground Slams | Slow recovery frames | Lyra or Zephyr (Ranged) |
| Starving Beast | Dimension 2 | Continuous Charges & Biting Arcs | Stunnable against arena walls | Shell (Reflect) or Vesper |
| Phantom Weaver | Dimension 3 | Illusion Clones & Bullet Hell | True boss lacks clone shadows | Cetus or Sol (Area Burst) |
| Starless Sovereign | Starless Path | Void Rifts & Orbital Lasers | Vulnerable after laser sweep | Cetus or Vesper (High DPS) |
| Heroic Warden | Lucid Torment | Accelerated slams & shockwaves | Jump/dash through shockwaves | Shell or Thorne (Sustain) |
Dimension 1: The Dream Warden
The Dream Warden serves as the initial gatekeeper. His moveset is deliberate and heavily telegraphed, providing an ideal environment to practice evasion.
Attack Patterns & Evasion Tactics
- Overhead Greatsword Slam: The Warden raises his blade, illuminating a long rectangular zone on the stone floor. Dodge laterally immediately before impact. Never dodge backward, as the shockwave extends forward.
- Triple Whirlwind: The Warden spins his weapon three times, progressing toward the player. Keep a moderate distance and kite in a circle until the animation concludes.
- Summon Dreamlings: At half health, four minor minions spawn around the arena perimeter. Eliminate them quickly with area Memories like Celestial Fracture to prevent body-blocking during the Warden’s charge.
Dimension 2: The Starving Beast
The Starving Beast represents a significant increase in tempo. Highly aggressive, this quadruped monster relies on rapid repositioning and charge sequences.
Tactical Strategy
- Wall Stun Exploitation: Position your Traveler near the stone pillars surrounding the combat circle. When the beast lowers its head and roars, a linear red lane appears. Wait until the beast begins its charge, then dash sideways. The beast will collide with the pillar, becoming incapacitated for four seconds of free damage.
- Puddle Avoidance: The beast leaves bile pools that severely hinder movement speed. Do not step in these pools, as diminished speed makes dodging subsequent charges near impossible.
Dimension 3: The Phantom Weaver
The Phantom Weaver challenges player awareness with illusion decoys and circular projectile patterns.
Identifying the True Weaver
During Phase 2 (75% HP) and Phase 3 (35% HP), the Weaver splits into three identical mirages that cast simultaneous spells.
- Real Boss Indicator: The authentic Weaver casts a dark shadow beneath her robe and features a faint purple shimmer around her staff. Decoys have no shadows and vanish upon taking a single hit.
- Area Clear Tactic: Firing a wide-area skill like Abyssal Surge or Celestial Fracture sweeps across all three illusions simultaneously, instantly dispelling the fakes.
The Starless Sovereign: v1.4 Final Climax
Encountered only at the conclusion of the Starless Path, the Sovereign tests everything you have assembled in your build.
Sovereign Combat Phases
| Phase | Health Stage | Major Hazards | Survival Priority |
|---|---|---|---|
| Phase 1 (Opening) | Full Health | Void Beams & Homing Orbs | Maintain safe distance, bait lasers away from arena center |
| Phase 2 (Midfight) | Wounded State | Starless Black Hole & Ring Collapse | Run outward to counter black hole suction, jump outer rings |
| Phase 3 (Enrage) | Critical Health | Full Arena Void Floor & Enrage | Burn down boss with maximum burst cooldowns before arena fills |
During Phase 3, the arena floor gradually floods with void degradation. Players must eliminate the Sovereign’s final health reserves swiftly before safe footing disappears entirely. Save your highest-damage cooldowns, potion buffs, and ultimate abilities specifically for this burn window.
Frequently Asked Questions
Who is the final boss of the Starless Path in v1.4?
The Starless Path culminates in a duel against the Starless Sovereign, an alternate manifestation of the Cosmic Weaver.
How do you avoid the Starving Beast's charge attack?
Dodge perpendicular to the red telegraph lane just as the beast lowers its horns, causing it to crash into arena pillars and become stunned.
What are Heroic Boss patterns?
Heroic Bosses appear on Lucid Dream difficulties, featuring faster attack animations, dual-element bullet hell rings, and enrage mechanics.
Source note: Field data verified against the official Shape of Dreams v1.4 build on Steam. Independent fan research published by the Astral Research Guild.